Creating a New Schema
Schemas group table assets.
Create a new schema
-
Begin by creating a new Connection. To review the steps for creating a connection, see the Creating a Connection topic. For this example, create a connection named AdventureWorksLTDataMart using the following connection string:
Provider=MSOLEDBSQL;Data Source=localhost;Initial Catalog=AdventureWorksLTDataMart;Integrated Security=SSPI;This connection points to a database that will be created later in the example project.
-
Next, create a new Database. To review the steps for creating a database, see the Creating a Database topic. For this example, name the database:
AdventureWorksLTDataMartDatabaseAssign its connection property to
AdventureWorksLTDataMart -
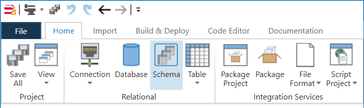
Go to the Home tab on the ribbon, and click the Schema button.
-
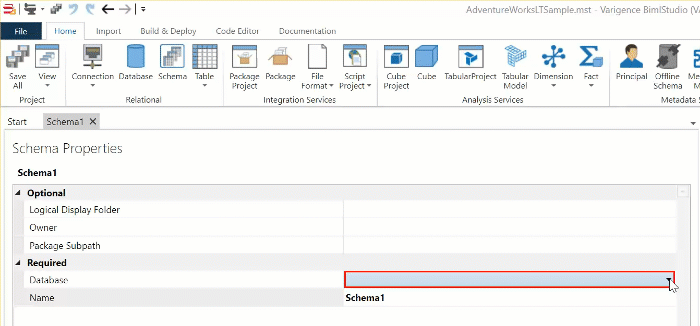
The Schema Properties should be open on the left, if not Double-click on the schema to open the designer for it.
-
Schemas require that you specify a database. For this example, use the AdventureWorksLTDataMartDatabase that was created above.
-
Change the Name value from Schema1 to AdventureWorksLTDataMartSchema to give the schema a meaningful name.
-
Save the project to persist your changes to the project files. See Saving a Project for more information.