Adding existing files to a project
It's possible to add existing Biml files to a project using the Project View. This is useful if you want to reuse Biml from a previous project, or you are sharing a common Biml file between projects.
To add existing Biml files to a project, follow these steps:
-
(Optional but recommended) Using Windows Explorer, copy the Biml files to the appropriate location in the project structure. For dimensions, this would be [project folder]\addedBiml\Tables
Files do not have to be located under the project folder to be added, but it does make management of Biml files easier.
-
Select the Project View tool window. It normally appears as a tab beside the Logical View tool window at the right side of the BimlStudio application window. If it is not visible, use the View button on the Home tab of the Ribbon to display it.
-
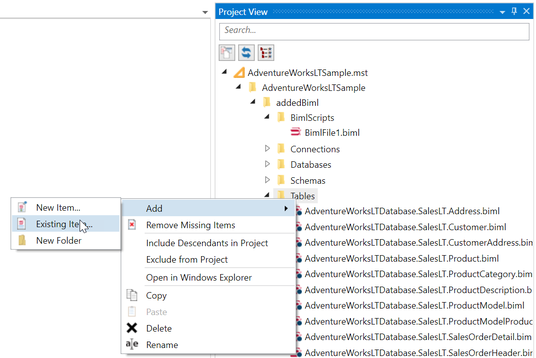
Expand the tree and Right-click the Tables item in the treeview, and choose Add > Existing Item...
-
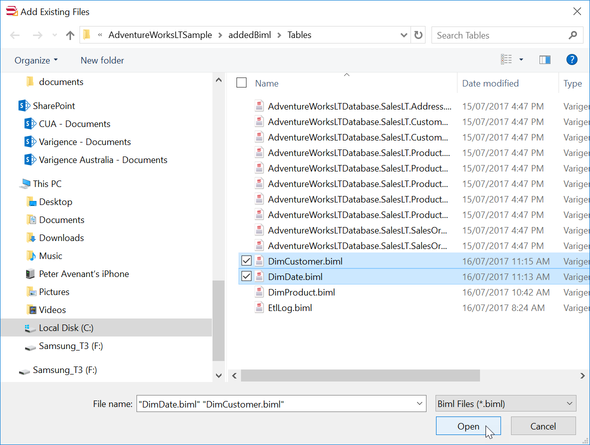
In the Add Existing Files dialog, locate the folder that contains the Biml files. Select the files that you want to add. Multiple files can be selected from this dialog.
-
Click Open to add the files to the project.
-
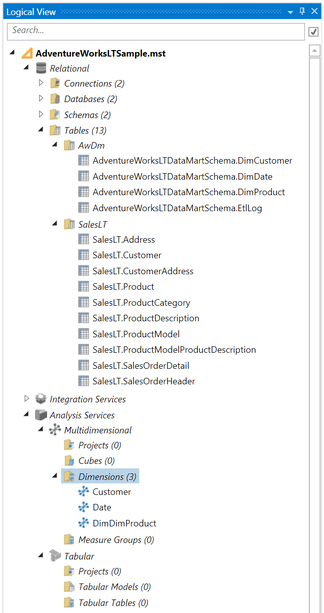
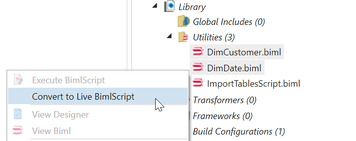
Using the Logical View you might need to Convert to Live BimlScript the files.
-
Save to project to commit your changes.
For the AdventureWorksLT sample, you will need to download a zip file containing two Biml files: DimDate and DimCustomer from here. After unzipping the file add them to your project. After adding the files, the logical view should include the DimDate and DimCustomer dimensions.